Thursday, 24 March 2016

Quilt Story - making something out of scraps!

I am trying to keep my scraps under control and thought a good way to do that was to use them to make quilts for Siblings Together.

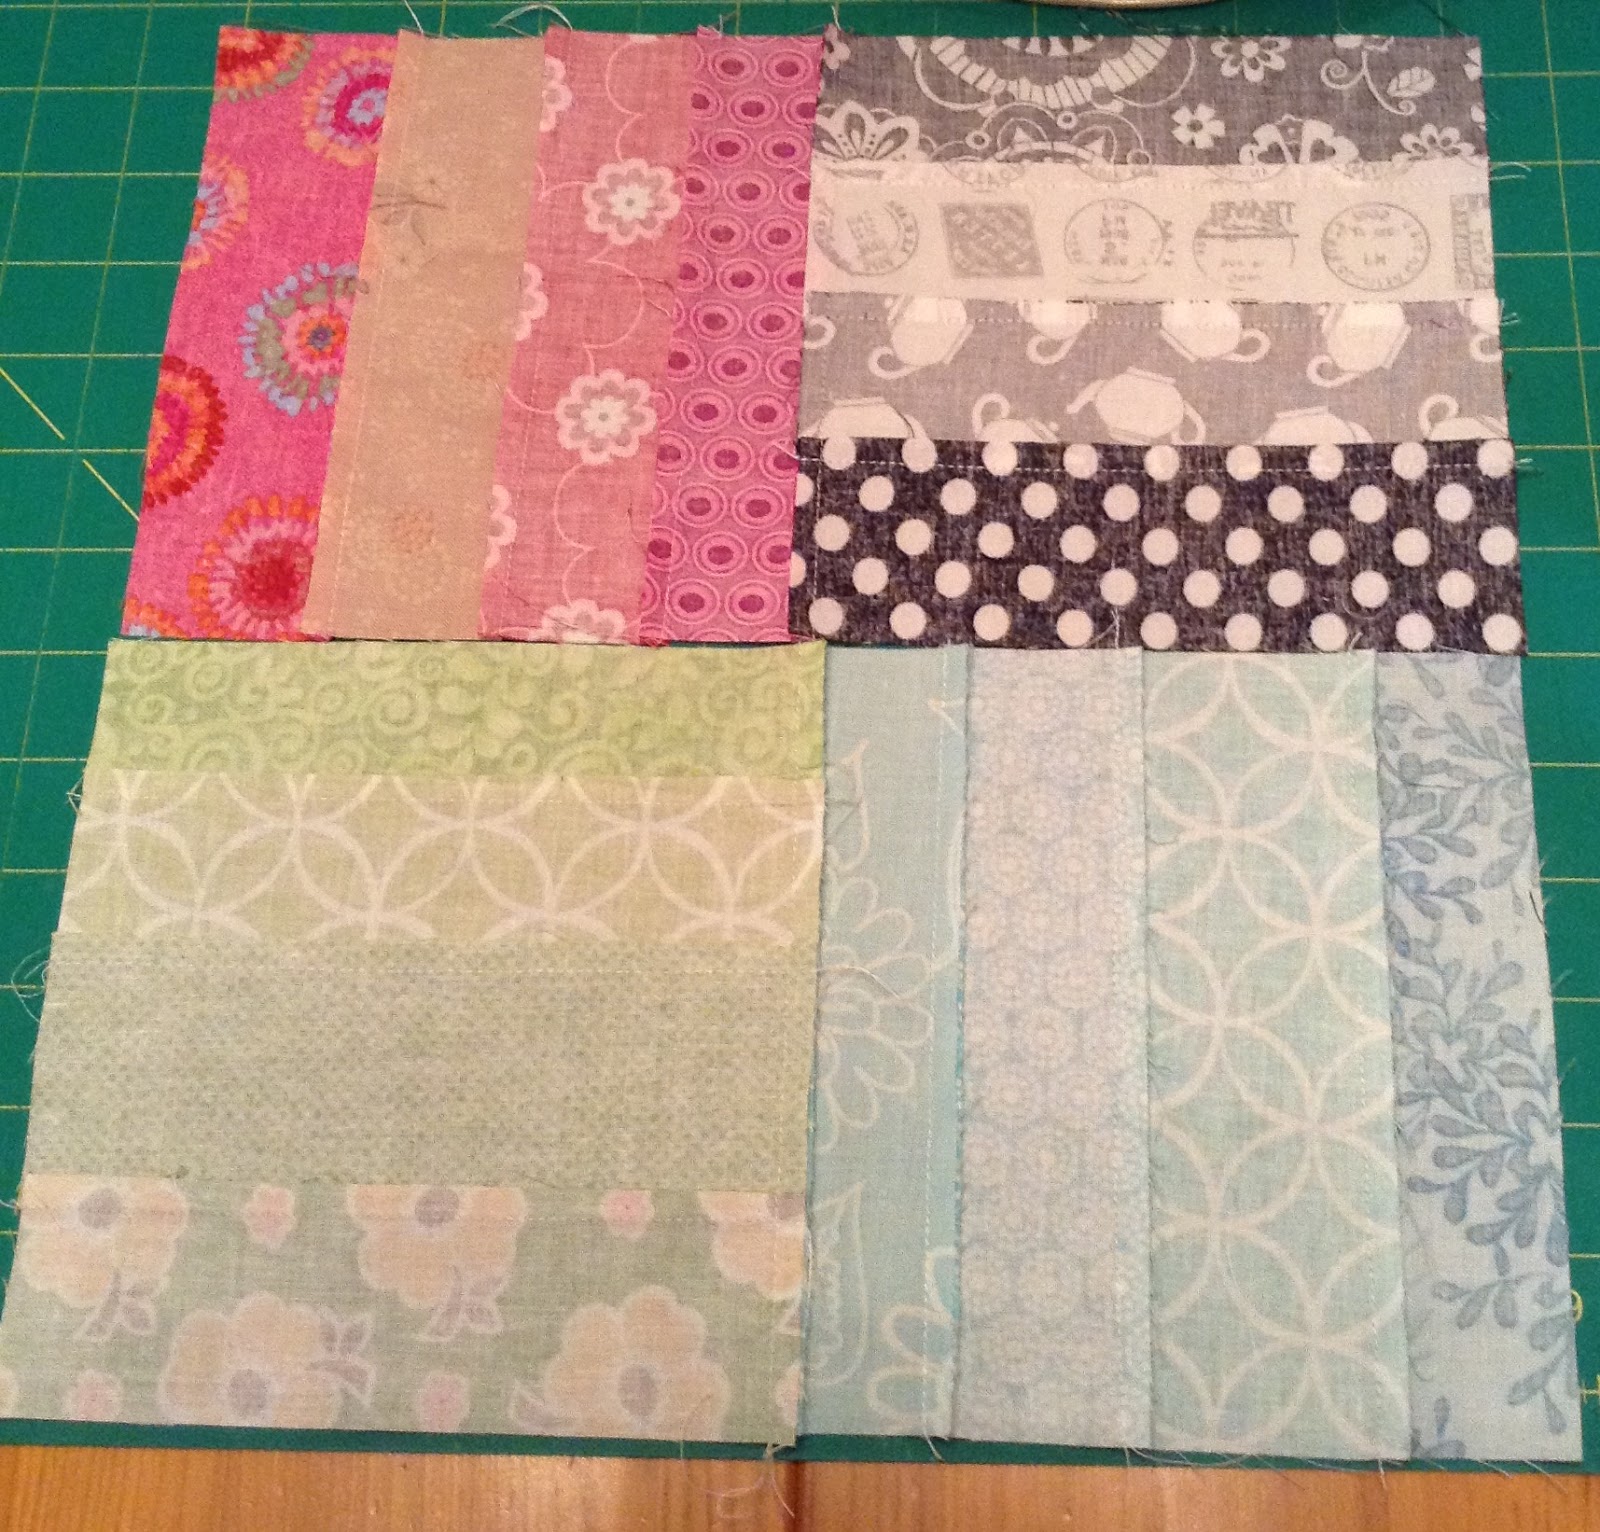
I started making some little nine patch blocks last year.  I used my aqua, lime green and purple scraps for this project, plus Kona snow for the alternate squares.

I had them up on my small design wall behind the door to my sewing room.


They sat there patiently waiting their turn.

I recently decided that I would adopt them as a leader/ender project and gradually work my way through them.

But that is not in my nature....


They became my project and I soon had another quilt top ready to quilt up for Siblings Together.


I found some beautiful purple backing fabric.


I decided to quilt a cross hatch on the main part and just diagonal lines in the border.  I finished the quilt using the backing fabric as my binding!  


And there we have another quilt for Siblings Together.  


I linked this finished quilt for Siblings Together to the Quilt Link Up as part of the tally towards our 100 quilt target.  If you finish a quilt for the charity please link too - it will help us to count up how close we are to our target   !


Siblings Together Quilt Linky Party


Thursday, 17 March 2016

Suzanne's Siblings Together Quilt Story.

Suzanne has already sent her quilt to Siblings Together for the 2016 camps. I'm sure you'll agree what a lovely, cheerful quilt it is. 


Over to Suzanne to tell is about the quilt.

"I sent at least one quilt last year.  I love to sew and as my family and friends have all the quilts they could possibly want, donating some to a good cause is a great thing to do.

The bright patterned pink fabric came from Paris – sent by a friend who knows how much I love to sew. She thought the colour was perhaps a little outside my comfort zone. After Christmas, I finally decided to do something with the fabric and used some muted pinks from my stash to complement the bright patterns. The resulting quilt is very pleasing - it has certainly brightened up the winter evenings for me."

We would love to hear your Siblings Together quilt stories so do let us know if you would like to contribute

Thursday, 10 March 2016

Quilt Story - Siblings making a quilt!!!

Hannah and Tanya involved their kids in making a quilt for Siblings Together! What a great way to help youngsters understand the problems of others and how they can help.  Here is their story of a very special quilt!  Over to you Tanya:


Siblings Together is a charity I am quite passionate about, for two reasons.  Firstly, I have 2 children, and I see on a daily basis the benefits to them of living together and sharing the childhood experiences they share (both the good and not so good).   Secondly, I work with children in foster and adoptive families, and I am involved in trying to keep siblings together, and trying to maintain links between those who are not able to live together as children. Each of those children leaves a little imprint on my heart along the way.

So, this year I am trying to contribute towards five quilts for the charity.

The first one is particularly special because Hannah and I joined forces with our 4 children and the kids got involved to make this quilt.  (Please would the quilt Police turn away now, this is never going to win any awards for neatness of piecing, colour combinations, quilting quality or whatever other categories are assessed at quilt shows).  However, the love and enthusiasm and care that those children put into this will, I hope, more than make up for this when it is given at camp.

The two oldest children (aged 8) are members of our local young quilters guild, so they can use a sewing machine and have skills of choosing fabrics and putting them together, chain piecing, pinning, unpicking (they did a lot of that), and laying out blocks etc. 


The younger children were a good support crew and one sat on my knee for a long while we sewed the quilt top together.  We had a busy afternoon all of us together making this quilt top, and then feeling quite exhausted both families shared a lovely meal together.


Showing the quilt top – and underneath the backing (the children loved the elephant fabric)

The quilting was also a shared experience – but slightly more stressful for me!!  Having a keen 8 year old does not improve my fmq skills…..


Hannah bound the quilt…..
This will be sent on it’s way today – along with lots and lots of love…. x


In fact this quilt has already arrived at the charity HQ!  


Monday, 7 March 2016

Siblings Together Quilt Labels

Here we have a guest post from Catherine who has been helping the siblings together quilt group cause for several years ....find out how she has been helping out below:

Hi I'm Catherine and I blog at Knotted Cotton (www.knottedcotton.com).
I've made three quilts for the cause but I'm not a fast quiltmaker, so
more recently I've been helping out by organising labels to be attached to
the quilts.  These are very generously sponsored by Spoonflower who are
sponsoring us again this year - hooray!

V


If you need a label (or ten) you can drop me a line at
catherine@knottedcotton.com or direct message me on instagram
@knottedcotton

Thursday, 3 March 2016

Scrap Box Tutorial for Siblings Together: Scrappy Colour Box Rail Fence.

 Today we have  the second in our series of scrap box tutorials by Sarah of Sew me. Over to you Sarah:

I'm back today with a second tutorial for a block that will help you reduce your scrap boxes and make a funky, colourful quilt for Siblings Together.


The pic above shows two of the scrappy colour block rail fence blocks that this tutorial makes.  Again, no rocket science involved but it's all here for you if you fancy having a go.  This quilt was the inspiration for these blocks.  You need to have a wee peek just to see.

Anyway, while the inspiration quilt is all nice and regular sized pieces, I really wanted to crack into my store of scrappy strips of all widths and I imagine this would help a lot of you reduce your scrap mountains too!  So, for this block I worked in quadrants of single colour ways and strips of varying widths.  Go get yours and join me (and forgive for the terrible lighting in my tutorial pics).

Scrappy Colour Block Rail Fence Block

This will yield an unfinished block measuring 12.5" x 12.5" and uses scant 0.25" seams throughout.

You will need 6.5" lengths of scrappy strips in four different colour ways.


For each quadrant of your block take a number of 6.5" scraps in one colour and stitch them together along the longest side.  You will need enough strips so that your finished quadrant can be trimmed measure 6.5" square.  Just a tip: don't make the outer strips too narrow or you may lose them in your seam allowances.


Handy hint: This block will come together very quickly if you chain piece your strips in colour pairs.


Once your strips are pieced in each colour block, press the seams all in the same direction.


Then, trim each colour block to 6.5" square.


When you have all four 6.5" colour blocks made.  Lay them out as above, alternating the horizontal and vertical direction of the strips.


Stitch the top two quadrants together and then stitch the bottom two together and press the joining seams in opposite directions.


Pin the top row and bottom row together, nesting the seams that you pressed in opposite directions neatly.  Stitch together and press your centre seam open.


Now that you have all four colour block quadrants together all that remains is to trim the block to 12.5" square before you start on a second one! ;-)

Remember, this little tutorial is just to show you how easy it would be to make a fun quilt from your scraps for a very worthy cause.

My first scrap box block can be found here if you are interested.  As always, I am very happy for anyone to reference these scrap box block tutorials or indeed any of my block tutorials for use in your Charity Bees or even just your ordinary Bee groups.

There will be another block along soon, so keep reading!

Sunday, 28 February 2016

Siblings Together Bee 1. March Block


 This post gives instructions for the March block for the ladies of the Siblings Together Bee 1 from Jen of Glinda Quilts.


Hello all!

March is my month to request blocks for this year's Siblings Together quilt drive from the ladies in our ST quilting bees group. I am so thankful and lucky to be a part of this fantastic cause.

As well as a couple of Bees, individual quilters across the land and beyond are making quilts for this year's camps where children separated by the care system come together and are gifted a quilt. Please visit the site and blog for more information and how you can help. 

Here are the instructions (note the high-tech designing ... NOT!):


And here is my 18.5" finished block:


I decided to stay away from my favourite pinks and go with something a bit more colourful. You'll need a little bit of orange, blue, green and yellow fabric and some white background (I've used Makower scrolls and an embossed snowflake but any whites will do). 

Each of the 16 units are 5" before sewing so the HSTs will be cut at 5 and 3/4" and the four piece squares cut at 2 and 3/4":


Some Glinda preferences: I don't do random! So I'd like the colour order to be exactly the same as my block, please :) this will flow really nicely once all 12 blocks are sewn together. Also, if you don't mind, please press the seams open. 

Other than that, it's very straightforward, here are some more pics just to show how I put it together:


Thank you, ladies, you're all amazing xx

Siblings Together Quilt Linky Party

Thursday, 25 February 2016

Scrap Box Block Tutorial for Siblings Together: Frame Box.

Sarah from Sew Me is generously sharing a series of Scrap Box block tutorials ideal for making quilts for Siblings Together. Thanks very much Sarah and over to you.


I've been brewing a plan for a while.  It involves delving into my carefully stored and pre-cut scrap boxes and doing something useful with them.  Since committing to a whole quilt myself for the Siblings Together charity just isn't possible this year, I thought I might cheerlead from the sides, encouraging all of you to raid your scrap boxes and make a simple scrappy quilt or two yourselves. 


With a trusty assistant at hand a few weekends ago, we got stuck into my scrap boxes and the three block designs in the top photo are what we came up with.  There's no rocket science in any of these blocks and I'm quite sure that all of you would be able to come with these by yourself.  However, if you're trying to think of a quilt for Siblings Together and would simply like someone to have done the cutting maths for you, I'm going to share tutorials for all three types of block here over the next few weeks.


Frame Box Block Tutorial


Today I'm going to share a tutorial for this block which is a 10.5" x 12.5" unfinished rectangle.  For these blocks I went straight to my box of 2.5" strips. Just a few cuts and a few seams resulted in these pretty framed box blocks.  These would be perfect if you have leftover jelly roll strips or lengths of unused 2.5" binding. So go on, hunt a few out and join in.


To start with you will need 3 different fabrics which are 2.5" wide.

Fabric A (centre rectangle)
Cut 1:  2.5" x 4.5"

Fabric B (first frame - a 2.5" x 22" strip will allow you all the cuts required)
Cut 2: 2.5" x 4.5"
Cut 2: 2.5" x 6.5"

Fabric C (outer frame - a 2.5" x 38" strip will allow you all the cuts required)
Cut 2: 2.5" x 8.5"
Cut 2: 2.5" x 10.5"


Layout your pieces as shown in the photo above.

Using scant 0.25" seams throughout, stitch the borders in place adding the side pieces first and then the top and bottom.


Press seams away from the centre.


Your outer border is added in exactly the same way - sides first, then top and bottom.  Neatly trim to 10.5" x 12.5".   After that, hey presto ...


you will have a great wee block for the start of your Siblings Together Quilt and you'll have done something useful with those scraps!!

I realise that this isn't the most detailed of tutorials, so please do ask if you need any clarification, but honestly it is that simple.

As a by the way, I am very happy for anyone to reference these scrap box block tutorials or indeed any of my block tutorials for use in your Charity Bees or even just your ordinary Bee groups.

Hope to be back soon with the next scrap box block tutorial for you.